
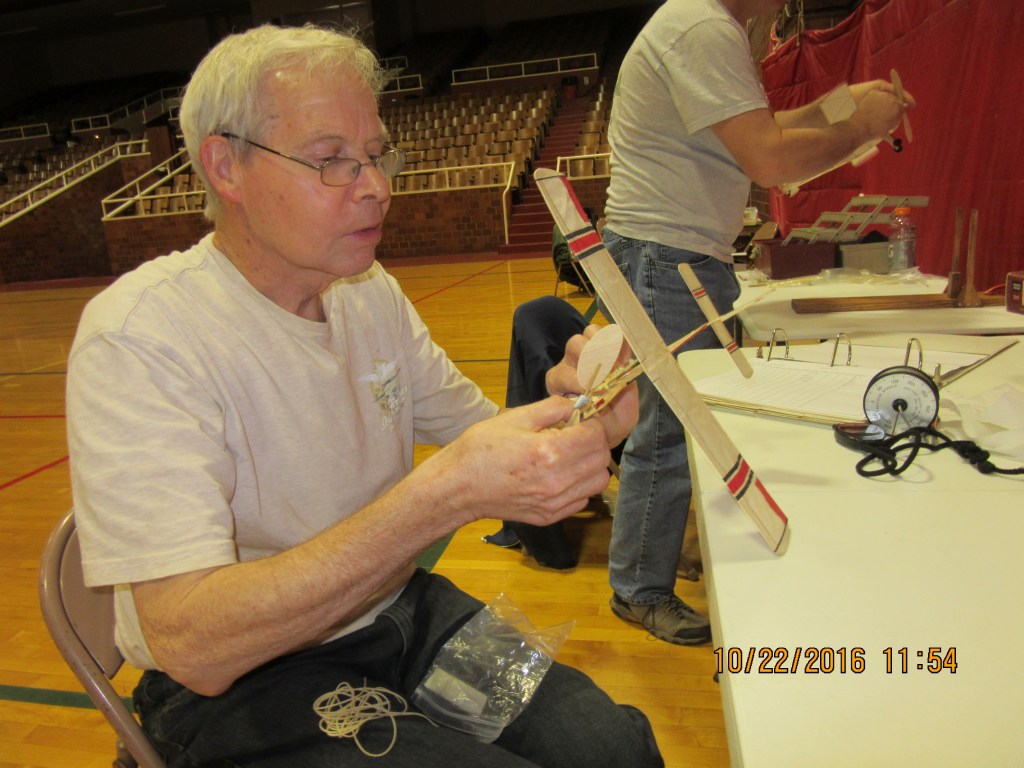
This is a tip from John Pakiz of the Nebraska Free Flighters Club
I have known John Pakiz for well over a decade now and have attended many of the Nebraska clubs indoor flying sessions held in the Beatrice Nebraska city auditorium. Flying in this venue is always a a real treat. Over the years John has sent me tons of info on topics such as trimming and flying technics as well as construction tips. Over the next few months I plan to share this info with the rest of the world. (Thanks John!) …..J. Renz
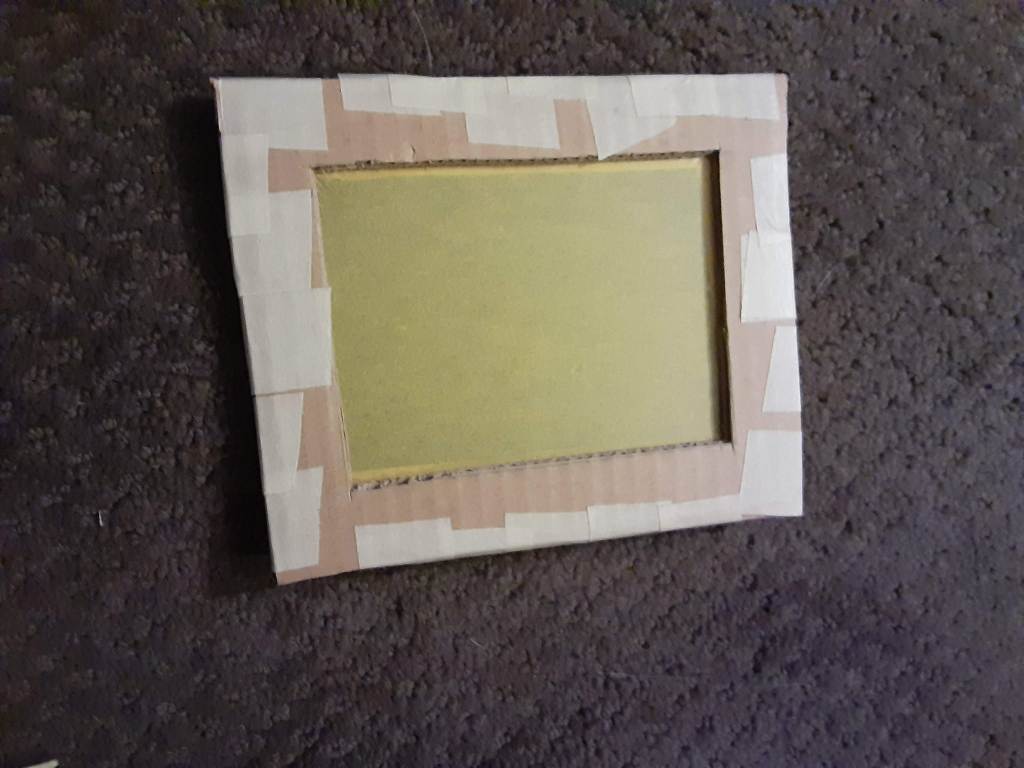
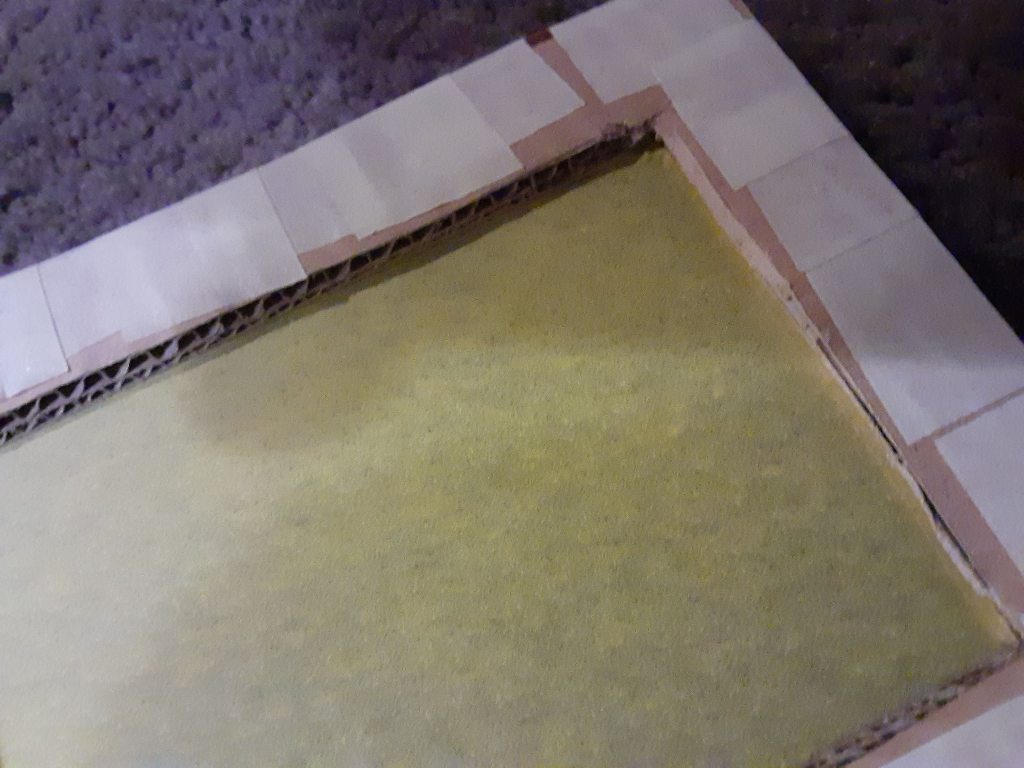
From John: I’m an advocate of pre-shrinking Japanese tissue. The more shrink we can get out ahead of time the less stress on our structures. To do this we need a frame to support the tissue during the shrinking process. Traditionally I’ve made my frames from 1/4″ hardwood but I have discovered an alternative method. Two layers of corrugated card board work just as well. The card board can be either glued or taped together. I choose the tape method as it’s faster and it doesn’t require any drying time.
The traditional wood frames all have straight square corner edges. So no matter the shape of the wing tip, vertical fin, stabilizer you would also be stuck with having to build a square wood frame the much larger than needed to get the correct size and waste tissue. However Cardboard frames can be square, rectangular or trapezoidal. The nice thing about the cardboard frames is you can make a custom frame according to the shape you are considering. The stab and tail on my Golden Age Reproductions Tony are all curves for the most part. A wood frame to cover the entire area would generate a lot of wasted tissue. The shrinking frames I made for them adhere closely to the actual outlines, of course leaving enough margin for ease of handling when putting the
tissue on the structures.
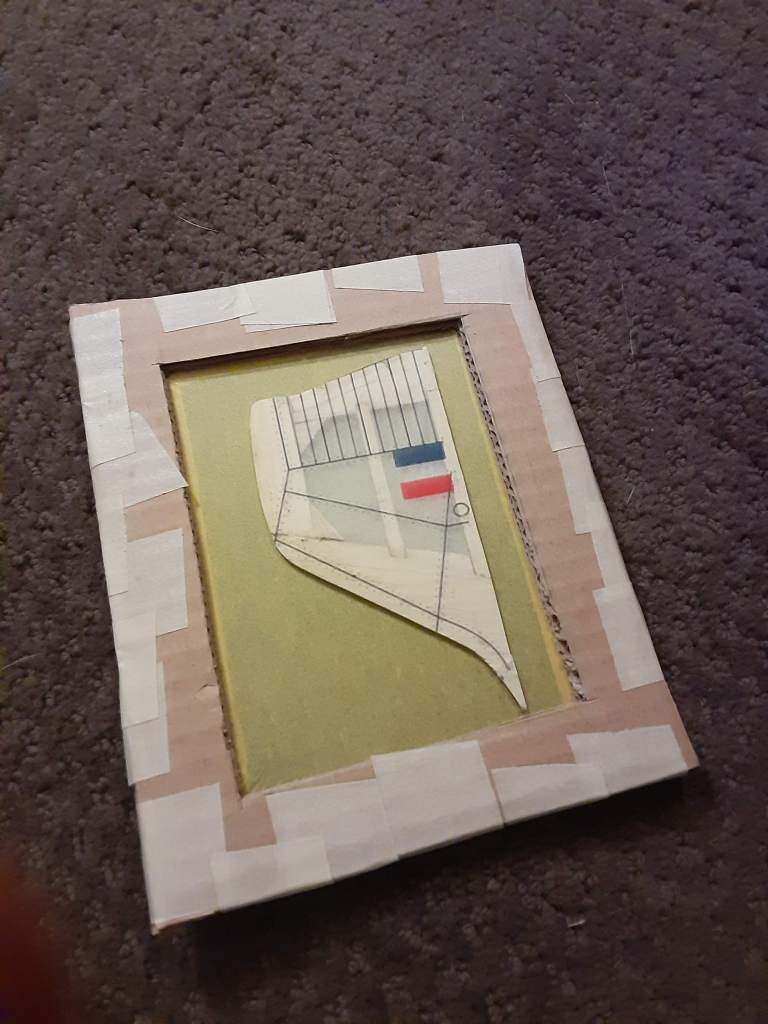
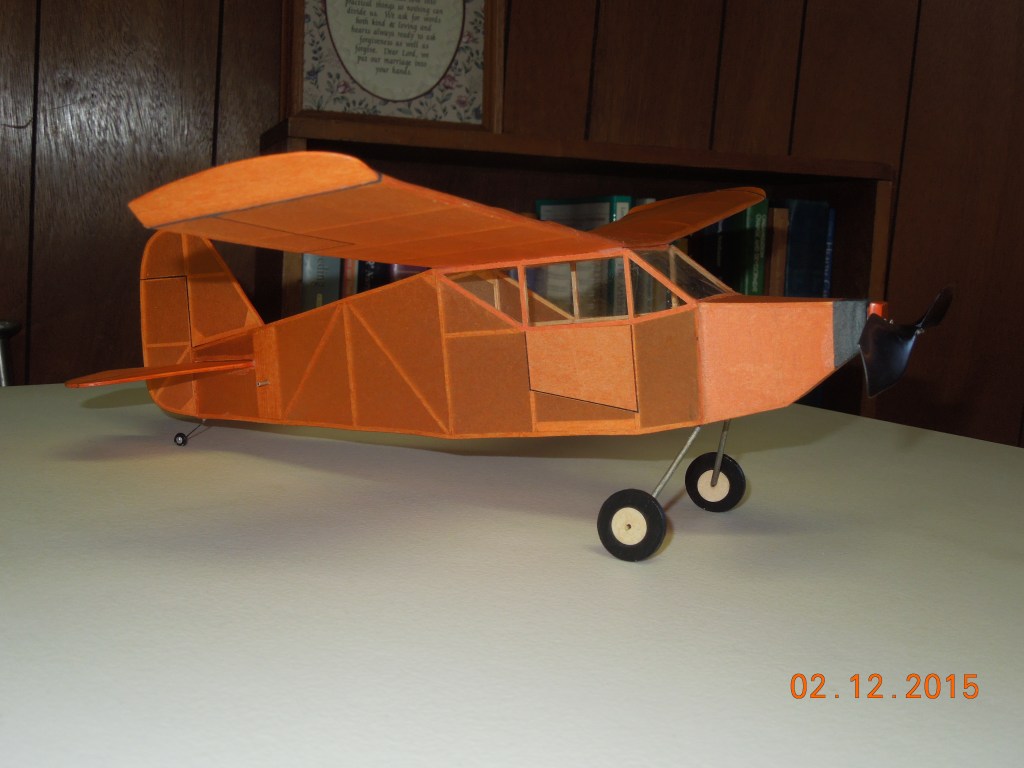
I made two card board frames for my 7 gram Bostonian rebuild. One frame for the top and bottom of the fuselage and the other for the fuselage sides. I’ve found if you carefully lay out the dimensions of the frame, then the tissue waste is greatly minimized. Works for me. Thought I’d just pass this along.
If you are new to tissue covering for free flight models….you should know among modelers there are many techniques used to address cosmetic and practical applications of tissue applied to indoor and outdoor flying model airplanes. I will be posting more info in the future. Check out the NFFS website and scour the web….I am sure there is tons of info out there on the topic.
Again I would like to thank John Pakiz for sharing is knowledge!
Jeff Renz
