
Article Written by Jeff Nisley — Method graciously shared by Don DeLoach
There are benefits to “Roping” or “Pre-winding” rubber motors for rubber powered model aircraft. This can allow a longer motor to be used and it also helps to prevent slackening when the motor winds in the fuselage.
Here is a technique to braid motors that was inspired by a lesson that Don DeLoach gave to members of the HAFFA group at the 2017 Marion Spring National Contest in Marion KS, June 4, 2017.
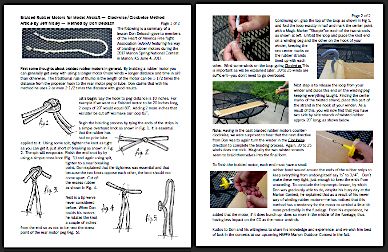
This article, shown at left can be downloaded as a PDF and printed for your reference. Click on the thumbnail or the link at left to go to the PDF:
The following is a summary of a lesson Don DeLoach gave to members of the Heart of America Free flight Association (HAFFA) featuring his way of braiding rubber motors during the 2017 Marion Spring National Contest in Marion, KS June 4, 2017.
First some thoughts about braided rubber motors in general. By braiding a rubber motor you can generally get away with using a longer motor (more winds = longer distance and time in the air). The traditional rule of thumb is the length of the motor can be 1-1/2 times the distance from the propeller hook to the rear motor peg or tube. Don claims that with his method he uses 2 or even 2-1/2 times the distance with good results.
Let’s begin by making a 2 loop motor twice as long as the hook to peg distance. Let’s say our hook to peg distance is 10”. Each of the 2 loops will use 40” of rubber to make the 20” long loops equaling 80”. Add to this an extra 2” that will later be cut off. Our total now is 82” of rubber needed.
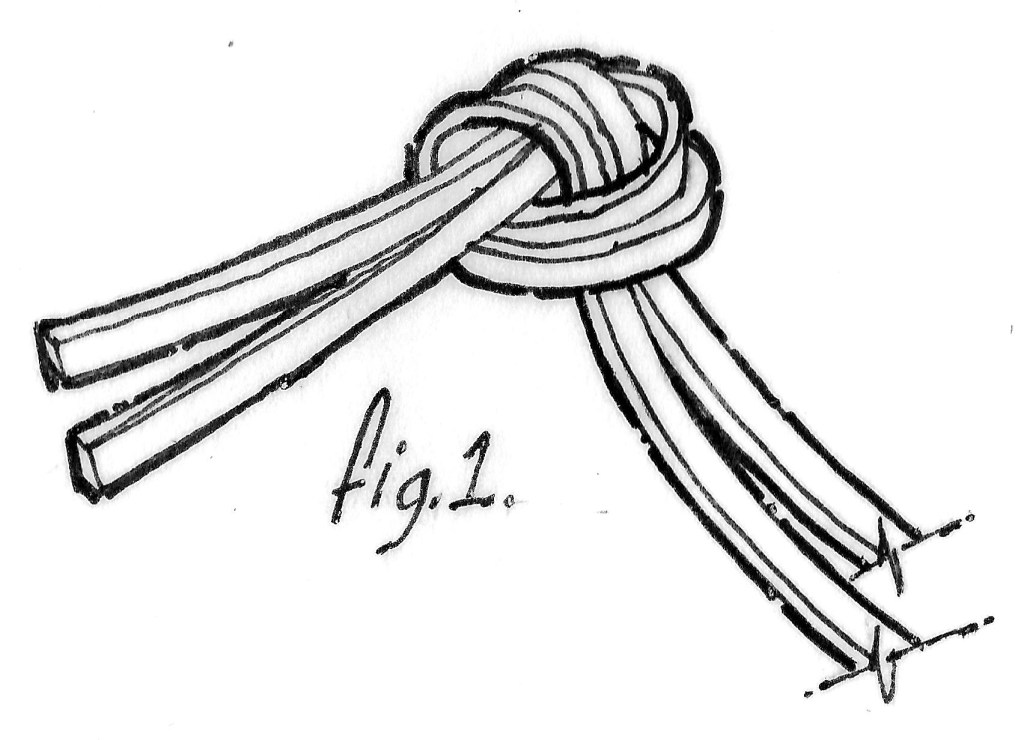

Begin the braiding process by tying the ends of the strips in a simple overhand knot as shown in Fig. 1. It is essential that the rubber has had no prior lube applied to it. Using some spit, tighten the knot as tight as you can get it, just short of breaking as shown in Fig. 2. The spit will evaporate. Finish the knot by by using a simple “T” knot (Fig. 3.) and again using spit, tighten it to near breaking.
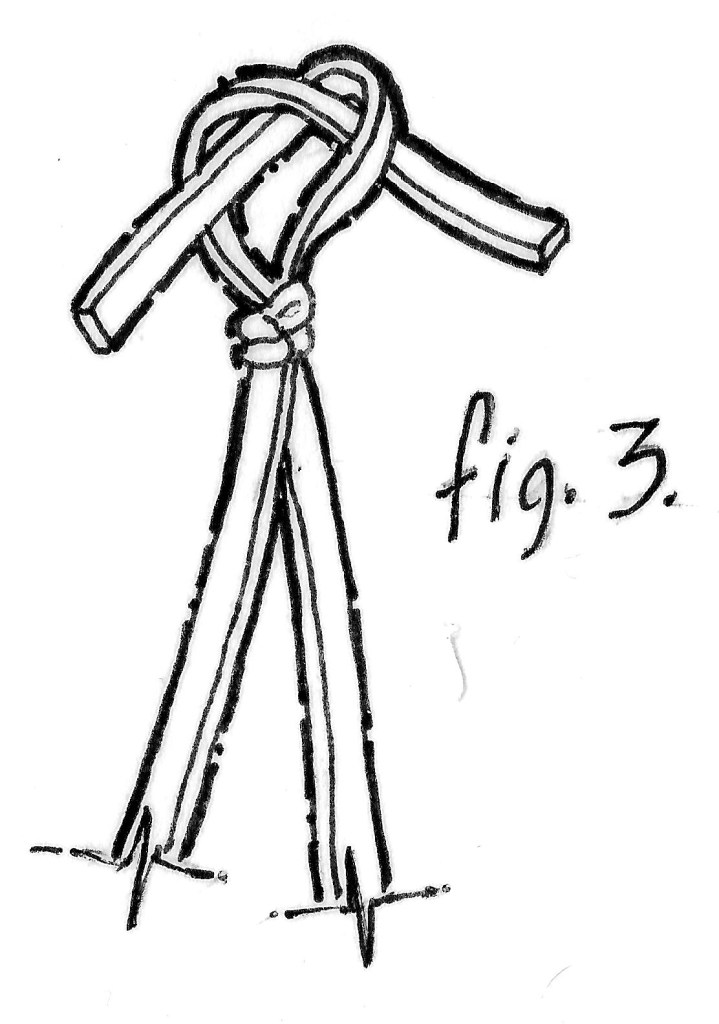
Don explained that the tightness was essential and that because the two knots oppose each other, the knot should not come apart. Cut off the excess rubber as shown in Fig. 4.

Next is a tip we’ve never considered before. When Don braids his motors he rotates the knot a couple of inches from the end so as not to be near the stress point of the rear motor peg (Fig. 5).

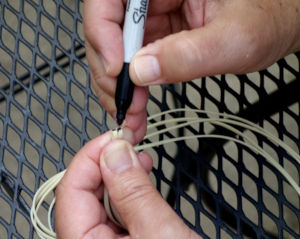
Continuing on, grab the top of the loop as shown in Fig 5. and fold the loop exactly in half and mark the center point of with a Magic Marker “Sharpie”on each of the two strands as shown at left. Unfold the loop and place the knot end on a winding peg and the other on the hook of your winder, keeping the two center marks on the rubber strands lined up with each other. Now put some winds on the loop going Clockwise. This is important as will be explained later. 60 to 75 winds are sufficient or 4 to 5 turns on a 15:1 winder.
Continuing on, grab the top of the loop as shown in Fig 5. and fold the loop exactly in half and mark the center point of with a Magic Marker “Sharpie”on each of the two strands as shown at left. Unfold the loop and place the knot end on a winding peg and the other on the hook of your winder, keeping the two center marks on the rubber strands lined up with each other. Now put some winds on the loop going Clockwise. This is important as will be explained later. 60 to 75 winds are sufficient or 4 to 5 turns on a 15:1 winder.

The next step is to release the loop from your winder and place this end on the winding peg, keeping everything taught. Finding the center marks of the twisted strand, place this part of the strand in the hook of your winder. As a result of this, you will now find that you have two side by side strands of twisted rubber approx 20” long.
Note: Having in the past braided rubber motors counter-clockwise, we were surprised to hear that the next directive from Don was to again turn the winder in the Clockwise direction to complete the braiding process. As before, 20 to 25 winds does the trick. Magically the two twisted strands seem to braid themselves into the final form.


To finish the braided motor, each end must have a small rubber band wound around the ends of the rubber strands to keep everything from undoing itself say ½” to 3/4” as shown at left. (A good size and source for these can be ordered from Amazon—five packages of 100 1/4” medium dental bands for just under $7. Share the packages with your buddies.) Don’t make these very tight, just enough to keep the ends from unraveling.
To conclude this impromptu lesson by which Don was graciously willing to do despite his busy day at the Marion Contest—he explained that as a result of his newest way of winding rubber motors, he has noticed that this method has a tendency for the motor to unwind a little bit more evenly and more predictably in the fuselage. From his experience, he added also that his motors, if they do bunch up, bunch up more in the middle of the fuselage, thus having less impact on the CG as the motor unwinds.
Kudos to Don and his willingness to share his knowledge and experience, and we wish him the best of luck in the competitions at all our upcoming HAFFA Annual Fall Marion Outdoor Free Flight Contests. 😉

When do you apply lube to the braided rubber?
Hi Norberto,
Thanks you for using our comments entry box on our Braiding Rubber Webpage !!! Sorry that I haven’t gotten back to you sooner.
The short answer is that you only apply the lube at the end of the braiding process, right before it goes into the model or into a clean storage bag.
When you are tying the loop knot I use spit to temporarily make the rubber slippery so you can safely tighten the knot. The spit will eventually dry, while actual lube does not. Real lube might make the knot slip and fail.
Before I begin this process I like to really clean the rubber well by washing it with warm water and some mild soap. It may look clean, but I don’t assume that it is. Thoroughly rinse the soap out and let it hang to dry. You aren’t going to stress the motor too much when you braid dry un-lubed rubber. Once it is braided I like to weigh it and write down its weight, length of the braided motor, info on the rubber, and where & when purchased it. Also note the cross sectional size and the model airplane it is intended for. Place this note along with the motor in a baggie for safe clean storage.
As far as lube, Don Deloach in another article of his I read suggested a type of silicone that is used for the shocks for model race cars. My local hobby store knew right away what I was referring to, however there are different viscosities or weights to consider. Tell them you want the weight that resembles honey and they will know what you mean. Your Local hobby shop may not carry the brand I got, so that is why I hesitate to designate a specific brand.
I lost the cap of the tube of mine, so I just let it be in a bag inside of a larger one. Lube seeps out into the larger bag that I place the rubber motor. Put the motor in the bag with the lube inside, mush it up and work it around so it is evenly distributed, I then take it out and work it a while with clean fingers to further distribute the lube all over.
Don and I like this type because it isn’t sloppy like others and it lasts—once you lube it, you are good for the life of the motor.
By the way, don’t leave the motor in your airplane expecting to use it next time you get it out to fly. A motor left there can stain the tissue. 😞
Also get rid of used motors more often than you would like. Rubber is cheap, a fuselage repair is not. 😰
Hope this helps,
—JB—